- Published on
How to Connect a Predictable Dialogs AI Agent to WordPress
- Authors

- Name
- Jai
- @jkntji
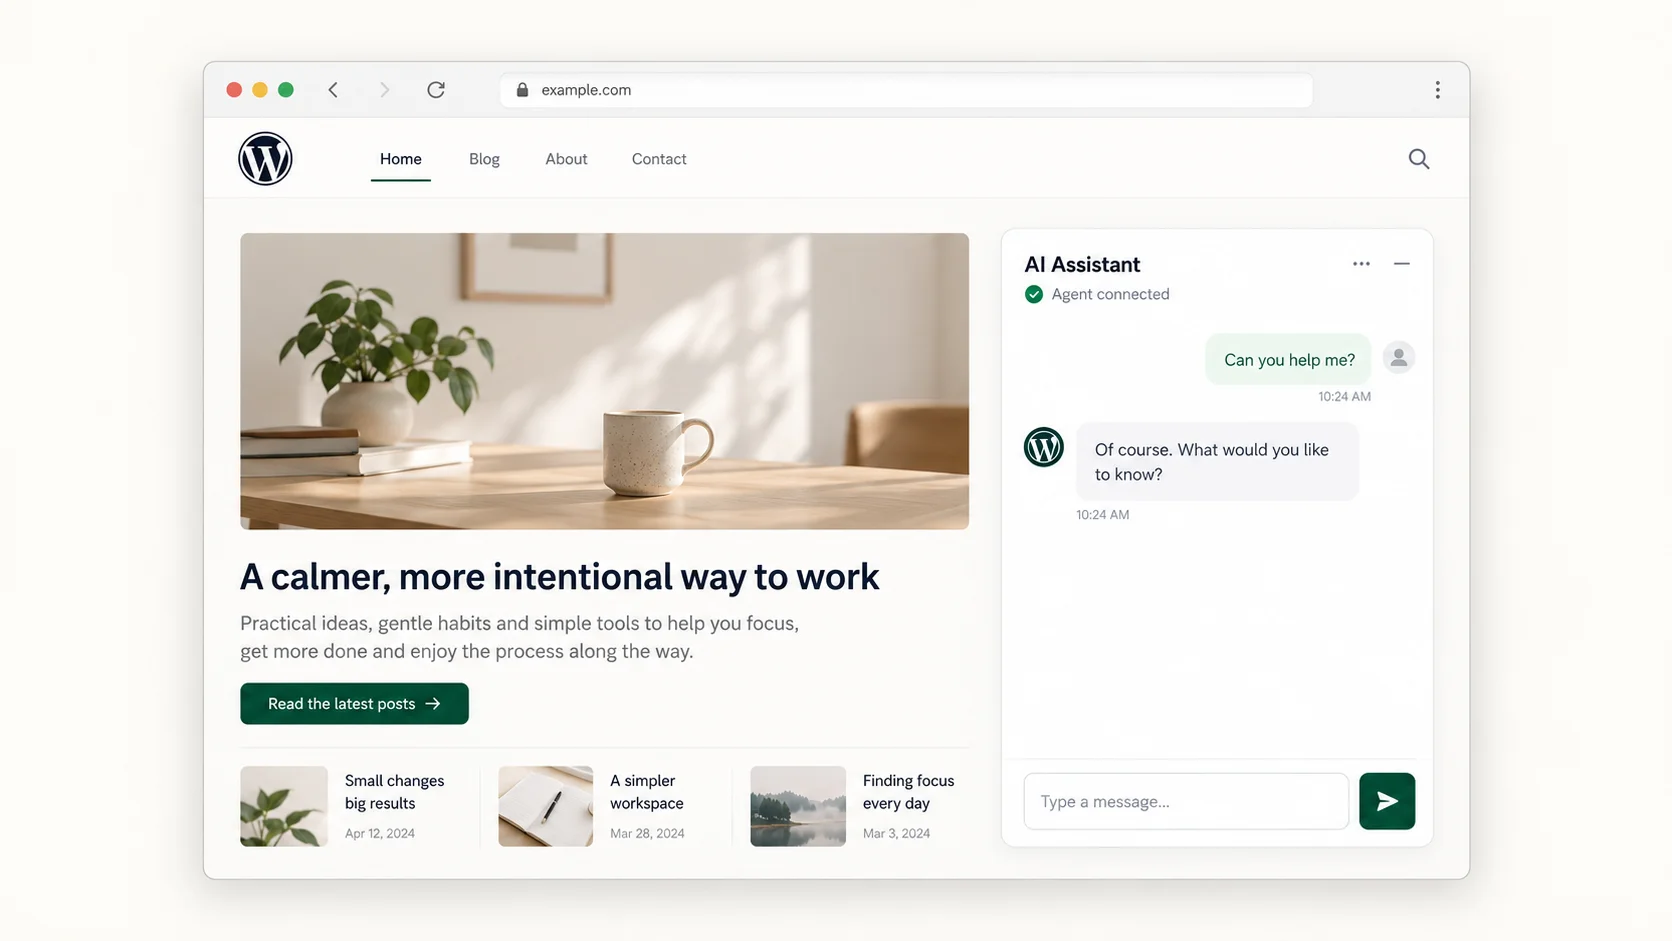
You can add a Predictable Dialogs AI agent to a WordPress site in two main ways: connect with the WordPress plugin, or copy the embed code into your site. The plugin is the easiest path because it lets you connect an agent, choose a widget type, and customize the widget from inside WordPress. The embed code path is useful when you want to place the widget manually or manage the snippet yourself.
This guide starts from a new agent and ends with the widget visible on your WordPress site.
1. Create Your Predictable Dialogs Agent
In Predictable Dialogs, start by creating a new agent.
- Go to your Predictable Dialogs dashboard.
- Create a new agent and give it a clear name.
- Add the instructions that describe how the agent should answer visitors.
- Add your own documents or knowledge sources so the agent can answer from your business content.
- Test the agent in the playground before installing it on WordPress.
Once the agent behaves the way you want, open the agent's Install page. Select WordPress as the platform. You will see two choices:
- Connect with the WordPress plugin
- Copy the embed code into your site
Most WordPress users should start with the plugin.
2. Fastest Path: Use the WordPress Plugin
The shortest path is:
- Install the Predictable Dialogs WordPress plugin.
- Connect the plugin to your Predictable Dialogs account.
- Select your agent.
- Keep the default Standard widget.
- Save settings and view your WordPress page.
Install the plugin from the WordPress plugin directory: Predictable Dialogs AI Assistant.
After installing and activating the plugin, open the Predictable Dialogs settings page in WordPress. Click Connect to Predictable Dialogs. WordPress will send you to the Predictable Dialogs site. Log in if needed, choose the agent you want this WordPress site to use, and click Connect.
You will be returned to WordPress. At this point the plugin is connected to the selected agent.
Show the Agent on Your Site with the Default Standard Widget
The default widget type is Standard. This is the quickest way to show the agent inline on a WordPress page.
For the fastest setup:
- Leave Widget type set to Standard.
- Open Customize Standard Widget.
- Keep the default width and height, or set your own values.
- Choose where the widget should appear.
- Save settings.
- Open your WordPress site and refresh the page.
You should now see the AI agent on the page.
The Standard widget has a few placement options:
- All pages: show the agent automatically across the site.
- Selected page: show the agent on one WordPress page.
- Manual shortcode: copy the shortcode and paste it exactly where you want the widget.
Use the shortcode option when you want precise placement between page elements. For example, you may want the agent after a product description, between two content sections, or inside a specific block layout. In that case, choose manual shortcode placement, copy the shortcode, and paste it into the relevant WordPress page or block.
You can also adjust the Standard widget's width and height. A common setup is full width with a fixed height such as 600px, but you can make it narrower or taller depending on the page layout.
3. Customize the Plugin Widget
After the plugin is connected, you can choose which widget style should appear on the WordPress site.
Standard Widget
Use Standard when you want the agent embedded directly into the page. It feels like part of the content. This is usually best for help pages, product advisors, guided forms, support pages, and knowledge base experiences.
The main settings are:
- Width: how wide the embedded agent should be.
- Height: how tall the embedded agent should be.
- Placement: all pages, selected page, or manual shortcode.
If you want a simple setup, choose all pages or selected page. If you want exact control, use the shortcode.
Popup Widget
Use Popup when you want the agent to open automatically after a delay. In the plugin, choose Popup as the widget type and open Customize Popup Widget.
The key option is the auto-show delay. You can choose after how many seconds the popup should appear. For example, setting it to 3 seconds means the popup opens shortly after the visitor lands on the page.
This is useful when the agent should actively invite the visitor to chat, such as on landing pages or sales pages.
Bubble Widget
Use Bubble when you want a floating chat button on the page. The visitor can click the bubble to open the agent when they need help.
In Customize Bubble Widget, you can configure:
- Placement: left or right side of the page.
- Button size: medium or large.
- Button color: choose a preset or pick a custom color.
- Bubble icon: use the default icon or provide a custom icon URL.
- Preview message: show a short message near the bubble, such as "Need help? Tap here to chat with us!"
- Preview avatar: add an avatar image URL for the preview message.
- Auto-show preview message: choose whether the preview message should appear automatically after a delay.
The Bubble widget is a good default for most marketing sites because it stays available without taking over the page.
4. Manual Snippet in the Plugin
The plugin also has a Manual initialization snippet section. This is the actual install snippet the plugin renders on your WordPress site.
That snippet is the source of truth. The plugin interface updates it for you when you change the widget type and customization options. But if you are an advanced user, you can also edit the snippet directly.
For example, you can copy the latest widget initialization code from Predictable Dialogs and paste it into the manual snippet box. You can also add more advanced widget options that are documented but not exposed in the plugin interface yet.
For advanced widget props and examples, read the official widget documentation: Predictable Dialogs widget docs.
If you are not sure which path to use, use the plugin controls first. Edit the manual snippet only when you need a customization that is not available in the plugin UI.
5. Option Two: Copy the Embed Code into WordPress
You can also skip the plugin connection flow and copy the embed code directly.
On the agent Install page in Predictable Dialogs:
- Select WordPress.
- Choose Copy the embed code into your site.
- Select the widget type and customization options.
- Copy the generated embed code.
Then paste the code into WordPress where scripts and custom HTML are allowed. This could be a Custom HTML block, a template area, or a WordPress snippet plugin that supports script tags.
After saving or publishing, open the page and refresh it. The agent should load from the copied embed code.
This path is useful when you already manage custom code on your WordPress site, or when you want full control over exactly where the widget code is placed.
Which Method Should You Use?
Use the WordPress plugin if you want the easiest setup and ongoing customization from inside WordPress.
Use copy embed code if you want to manage the script yourself, place it in a custom WordPress setup, or use advanced widget configuration directly from the snippet.
For most sites, start with the plugin and the default Standard widget. Save settings, refresh your page, and confirm the agent appears. Once the basic setup is working, switch to Bubble or Popup if that better matches how visitors should interact with the agent.